Amazon S3 service is used for file storage, where you can upload or remove files. We can trigger AWS Lambda on S3 when there are any file uploads in S3 buckets. AWS Lambda has a handler function which acts as a start point for AWS Lambda function. The handler has the details of the events. In this chapter, let us see how to use AWS S3 to trigger AWS Lambda function when we upload files in S3 bucket.
Steps for Using AWS Lambda Function with Amazon S3To start using AWS Lambda with Amazon S3, we need the following −
- Create S3 Bucket
- Create role which has permission to work with s3 and lambda
- Create lambda function and add s3 as the trigger.
Let us see these steps with the help of an example which shows the basic interaction between Amazon S3 and AWS Lambda.
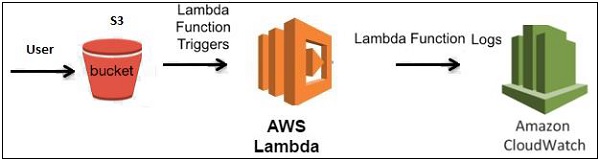
- User will upload a file in Amazon S3 bucket
- Once the file is uploaded, it will trigger AWS Lambda function in the background which will display an output in the form of a console message that the file is uploaded.
- The user will be able to see the message in Cloudwatch logs once the file is uploaded.
The block diagram that explains the flow of the example is shown here −
Let us start first by creating a s3 bucket in AWS console using the steps given below −
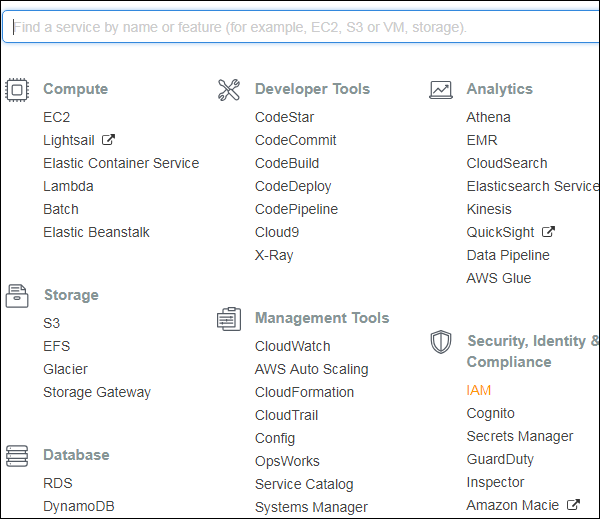
Step 1Go to Amazon services and click S3 in storage section as highlighted in the image given below −
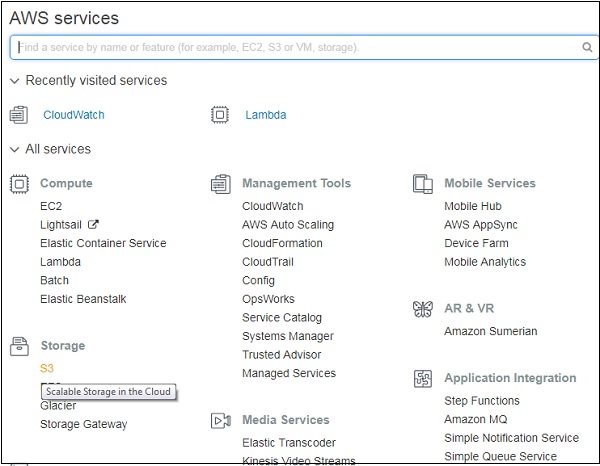
Click S3 storage and Create bucket which will store the files uploaded.
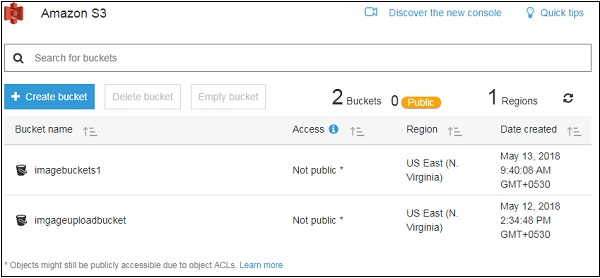
Once you click Create bucket button, you can see a screen as follows −
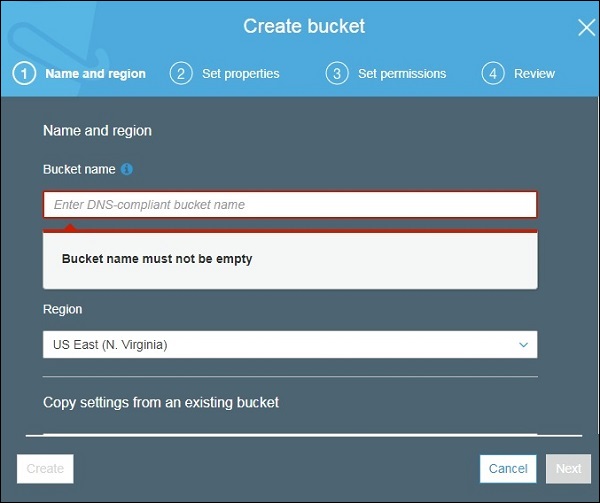
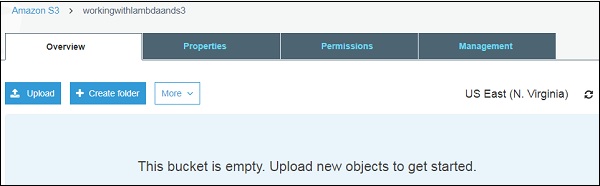
Enter the details Bucket name, Select the Region and click Create button at the bottom left side. Thus, we have created bucket with name : workingwithlambdaands3.

Now, click the bucket name and it will ask you to upload files as shown below −
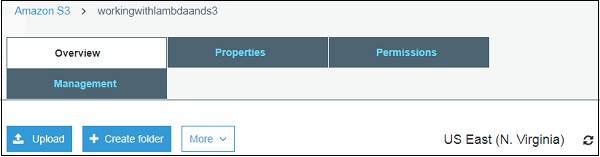
Thus, we are done with bucket creation in S3.
Create Role that Works with S3 and LambdaTo create role that works with S3 and Lambda, please follow the Steps given below −
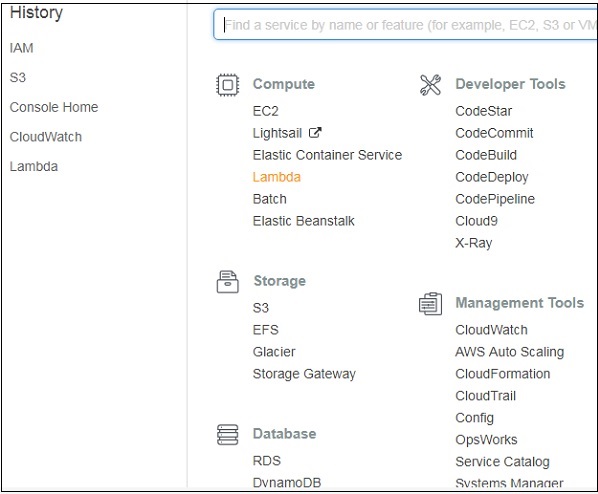
Step 1Go to AWS services and select IAM as shown below −
Now, click IAM -> Roles as shown below −
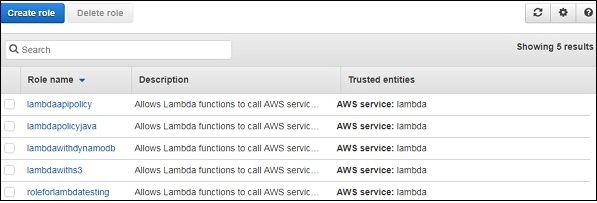
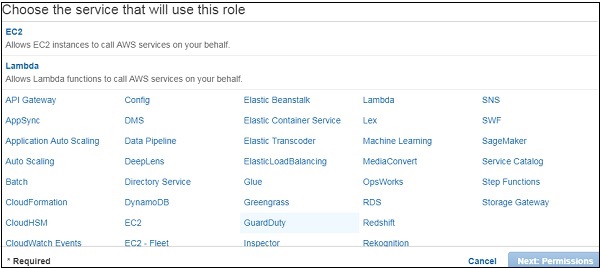
Now, click Create role and choose the services that will use this role. Select Lambda and click Permission button.
Add the permission from below and click Review.
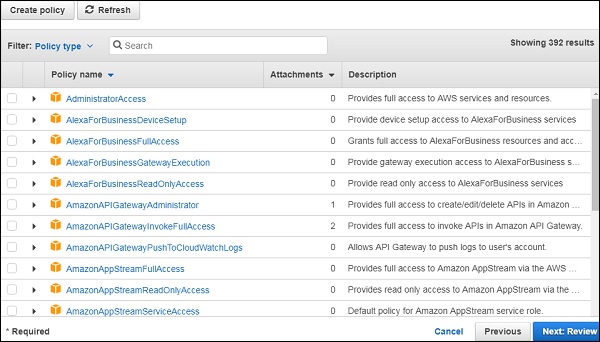
Observe that we have chosen the following permissions −
Observe that the Policies that we have selected are AmazonS3FullAccess, AWSLambdaFullAccess and CloudWatchFullAccess.
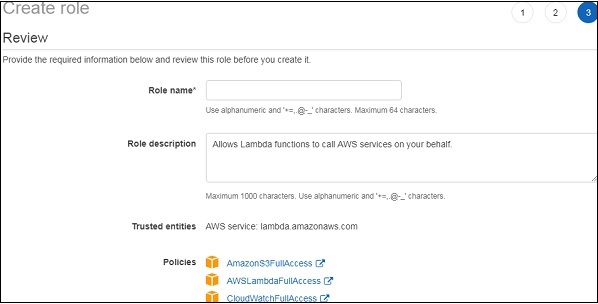
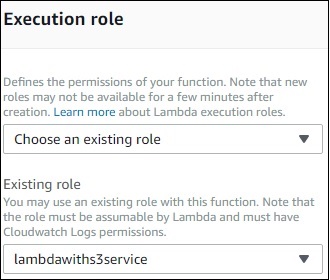
Step 6Now, enter the Role name, Role description and click Create Role button at the bottom.
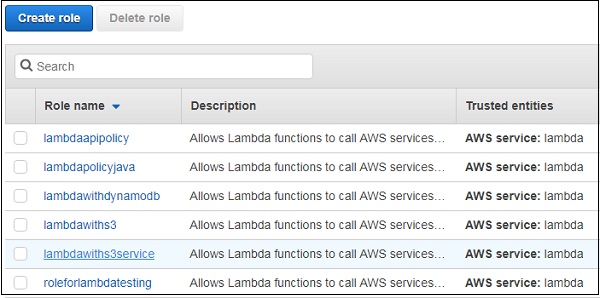
Thus, our role named lambdawiths3service is created.
Create Lambda function and Add S3 TriggerIn this section, let us see how to create a Lambda function and add a S3 trigger to it. For this purpose, you will have to follow th Steps given below −
Step 1Go to AWS Services and select Lambda as shown below −
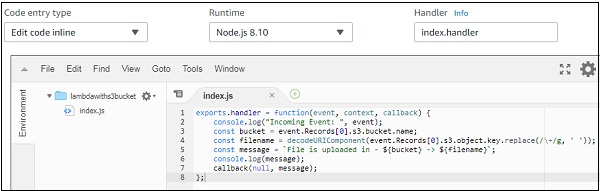
Click Lambda and follow the process for adding Name. Choose the Runtime, Role etc. and create the function. The Lambda function that we have created is shown in the screenshot below −

Now let us add the S3 trigger.

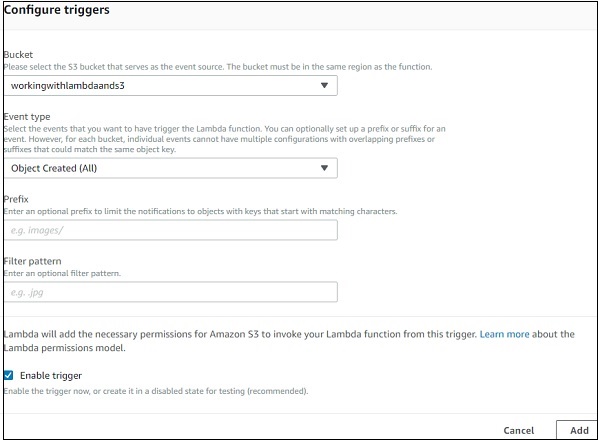
Choose the trigger from above and add the details as shown below −
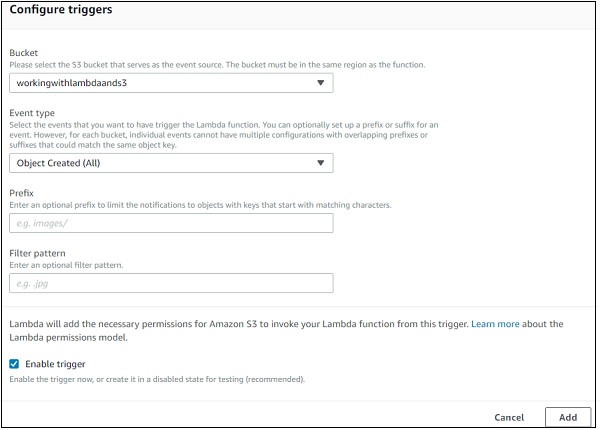
Select the bucket created from bucket dropdown. The event type has following details −
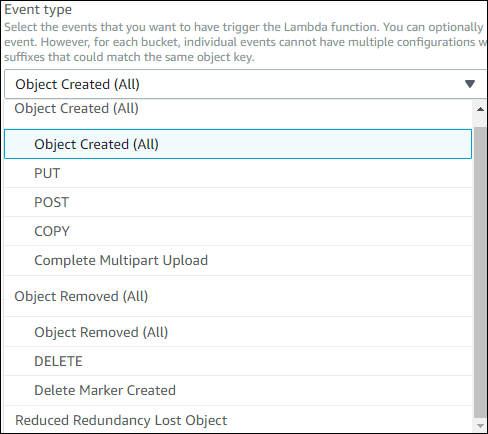
Select Object Created (All), as we need AWS Lambda trigger when file is uploaded, removed etc.
Step 6You can add Prefix and File pattern which are used to filter the files added. For Example, to trigger lambda only for .jpg images. Let us keep it blank for now as we need to trigger Lambda for all files uploaded. Click Add button to add the trigger.
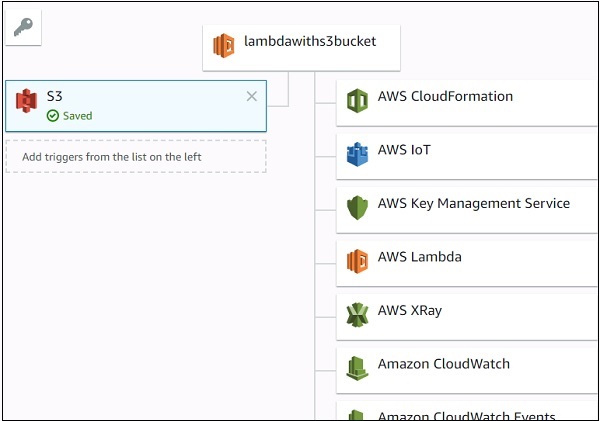
You can find the the trigger display for the Lambda function as shown below −
Let’s add the details for the aws lambda function. Here, we will use the online editor to add our code and use nodejs as the runtime environment.
Step 8To trigger S3 with AWS Lambda, we will have to use S3 event in the code as shown below −
exports.handler = function(event, context, callback) {
   console.log("Incoming Event: ", event);
   const bucket = event.Records[0].s3.bucket.name;
   const filename = decodeURIComponent(event.Records[0].s3.object.key.replace(/\+/g, ' '));
   const message = `File is uploaded in - ${bucket} -> ${filename}`;
   console.log(message);
   callback(null, message);
};
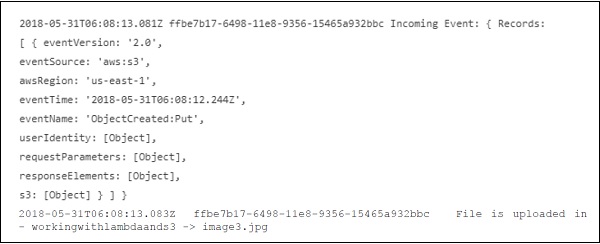
Note that the event param has the details of the S3event. We have consoled the bucket name and the file name which will get logged when you upload image in S3bucket.
Step 9Now, let us save the changes and test the lambda function with S3upload. The following are the code details added in AWS Lambda −
Now, let us add the role, memory and timeout.
Now, save the Lambda function. Open S3 from Amazon services and open the bucket we created earlier namely workingwithlambdaands3.
Upload the image in it as shown below −
Click Upload button to add files as shown −
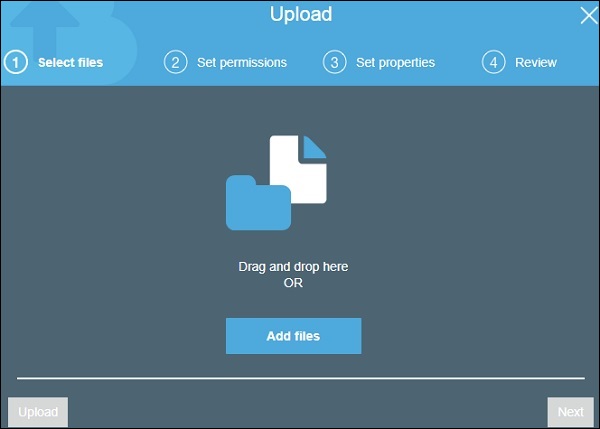
Click Add files to add files. You can also drag and drop the files. Now, click Upload button.
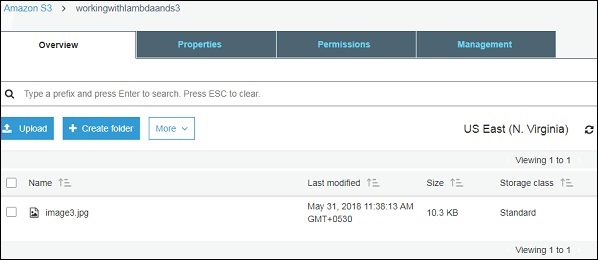
Thus, we have uploaded one image in our S3 bucket.
Step 14To see the trigger details, go to AWS service and select CloudWatch. Open the logs for the Lambda function and use the following code −
exports.handler = function(event, context, callback) {
   console.log("Incoming Event: ", event);
   const bucket = event.Records[0].s3.bucket.name;
   const filename = decodeURIComponent(event.Records[0].s3.object.key.replace(/\+/g, ' '));
   const message = `File is uploaded in - ${bucket} -> ${filename}`;
   console.log(message);
   callback(null, message);
};
The output you can observe in Cloudwatch is as shown −
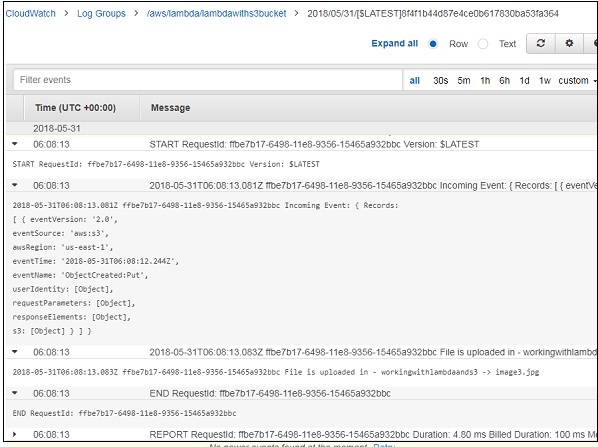
AWS Lambda function gets triggered when file is uploaded in S3 bucket and the details are logged in Cloudwatch as shown below −
Comments
Post a Comment